Custom Code in PsychoPy
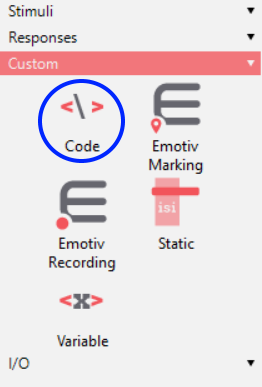
Just like an “Image” or “Video” stimulus, you can add in custom “Code” components in the PsychoPy builder. Broad information on this component can be found on PsychoPy’s website, here. You can find the code component in the builder view by scrolling down the components on the right side, and clicking on the “custom” header.
 When you add in a custom Code component, clicking on it will give you a window like this:
 You can edit the name of this code component up top, as well as change what language the code is in. PsychoPy supports custom code in Python and JavaScript.
By default, the code type will be set to Auto->JS. This means that when you type Python code on the left, it will automatically translate to JavaScript on the Right. This translate feature is unique to PsychoPy, and is not perfect. Some parts of Python code will not translate to JavaScript, including Python-specific libraries. An incredibly valuable tool when translating any code to JavaScript in PsychoPy is the “PsychoPy Python to JavaScript Crib Sheet,” available here.
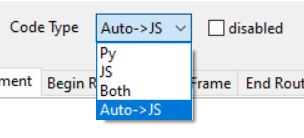 There are also options to code solely in Python or JavaScript, or code both separately.
The “disabled” check box exists for testing purposes. Just like you can temporarily disable any other component in the PsychoPy builder view, you can disable your custom code component to test how the experiment runs without it. This will become especially useful when testing experiments that have code that will only run online, through Pavlovia.
In the coding window, there are tabs for the times in the experiment you can set your code to run.
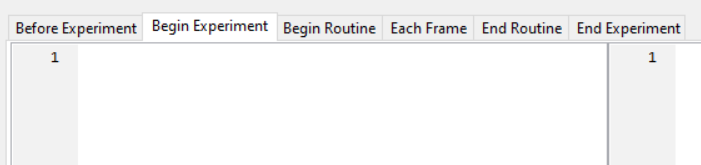 By placing bits of code under these different tabs, you can direct what runs before the beginning of the experiment, at the beginning of the experiment, at the beginning of the routine this code component is in, in each frame of that routine, at the end of that routine, and at the end of the whole experiment.